
I've got a nephew coming.......I'm super excited to hold this little bundle.
Years ago, I started making Rag Blankets for each new Niece/Nephew. It's something that I can do up quick, and combine some in-store sales & coupons, I can make a great homemade gift for cheap :)
Here are some pictures from past gifts:


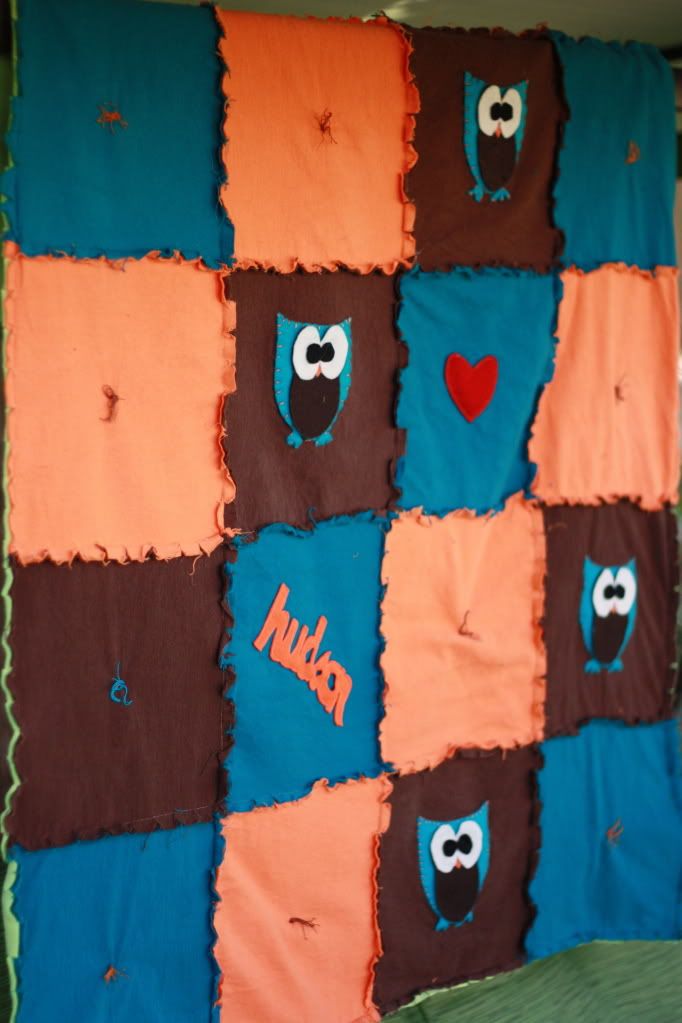
But this time, I didn't feel like cutting out a bunch of 5x5 squares, so I opted to cut out 10x10 squares. Here's how it turned out:

So stinking cute!
I walked into Joann's, and when I saw the turqoius flannel, I knew that would be the base.
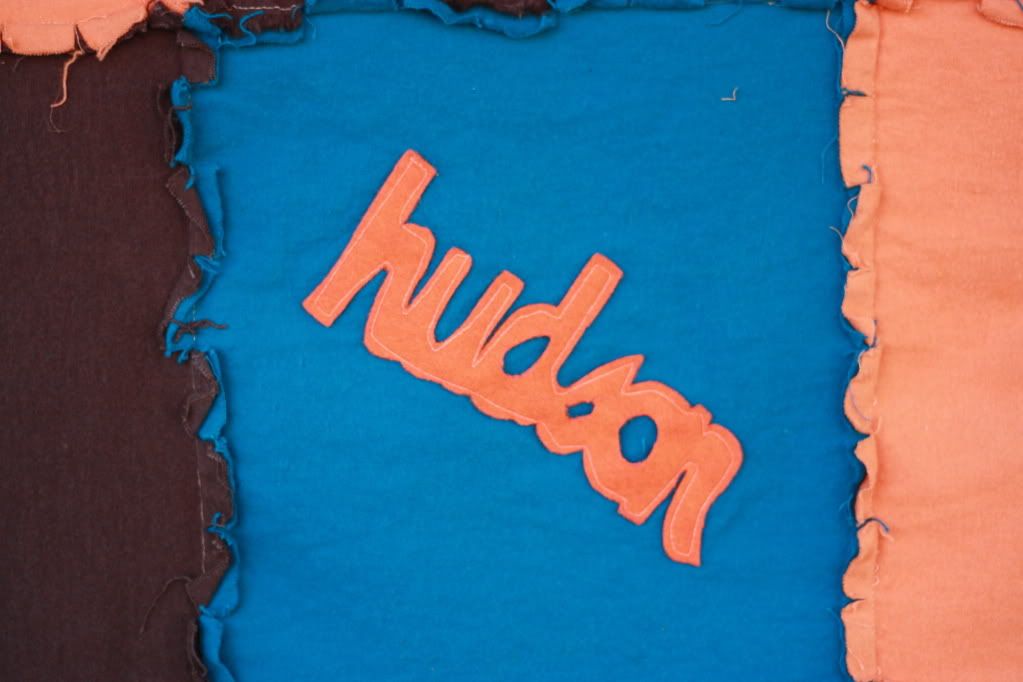
I even cut out his name & stitched it on. Let me tell ya...that's true love right there, it was hard cutting out that piece.
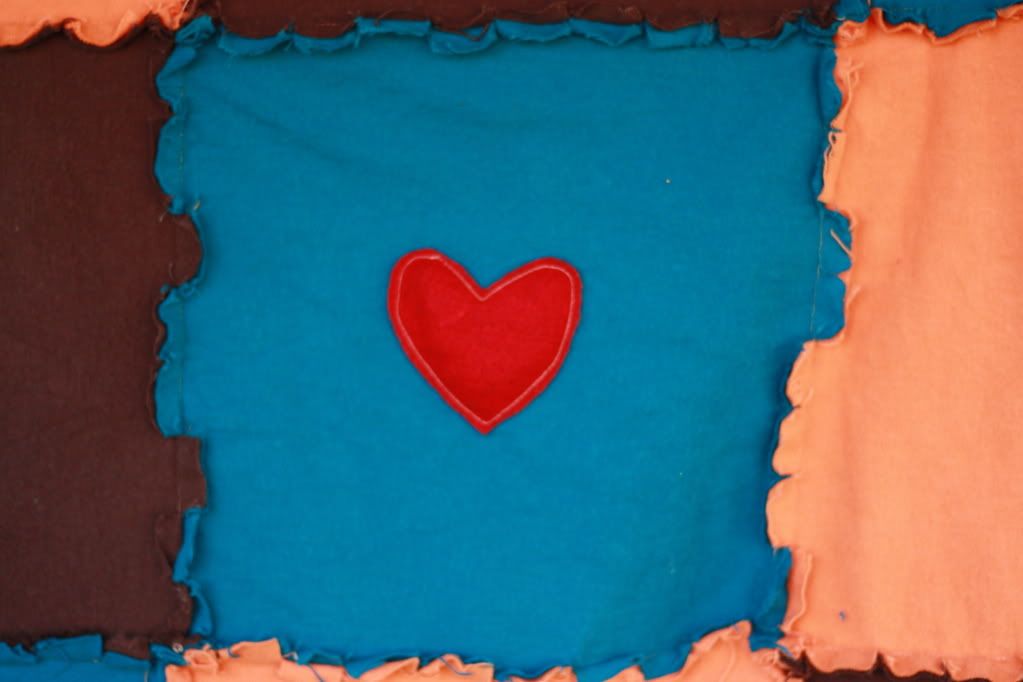
Besides cutting out the owls, I also added a little heart, so Hudson knows his Aunt Nae loves him :)
I gave the blanket to my SIL & told her that the baby could come anyday now..lol :)
What to make one of your own.......
Here's what I did:
Fabric = 2/3 of a yard of three different colors fabric {or 4 if you want}
-Cut 10x10 squares, and layout your pattern
Backing = 1 yd of 58" wide fleece
Owls = 2 Sheets of Felt for the main body; 1 Sheet for the Tummy; 1 Ivory Sheet for the eyeballs; 1 Black Sheet for the pupils; 1 Orange Sheet for the Nose
Print off 3 copies of the picture below {I printed off 4x6 size}:

I cut out the main owl, the tummy and eyes together, and then just the eyes. I glued all the layers together, and then stitched it onto one of the fabric squares with floss.
Sew the squares together, making sure you sew the wrong sides together {in order to make it a rag blanket. I sewed everything using a 1/2 inch seamline.
After everything has been sewn, lay on top of your backing fabric, and cut the backing fabric to size. I then pinned everything, and took some floss & tied some of the empty squares.
Sew around the edges. Take some small, but good scissors, and start cutting into the fabric. Rinse in the washer, and then throw it into the dryer.
And there you go, your own rag blanket!


0 comments:
Post a Comment