
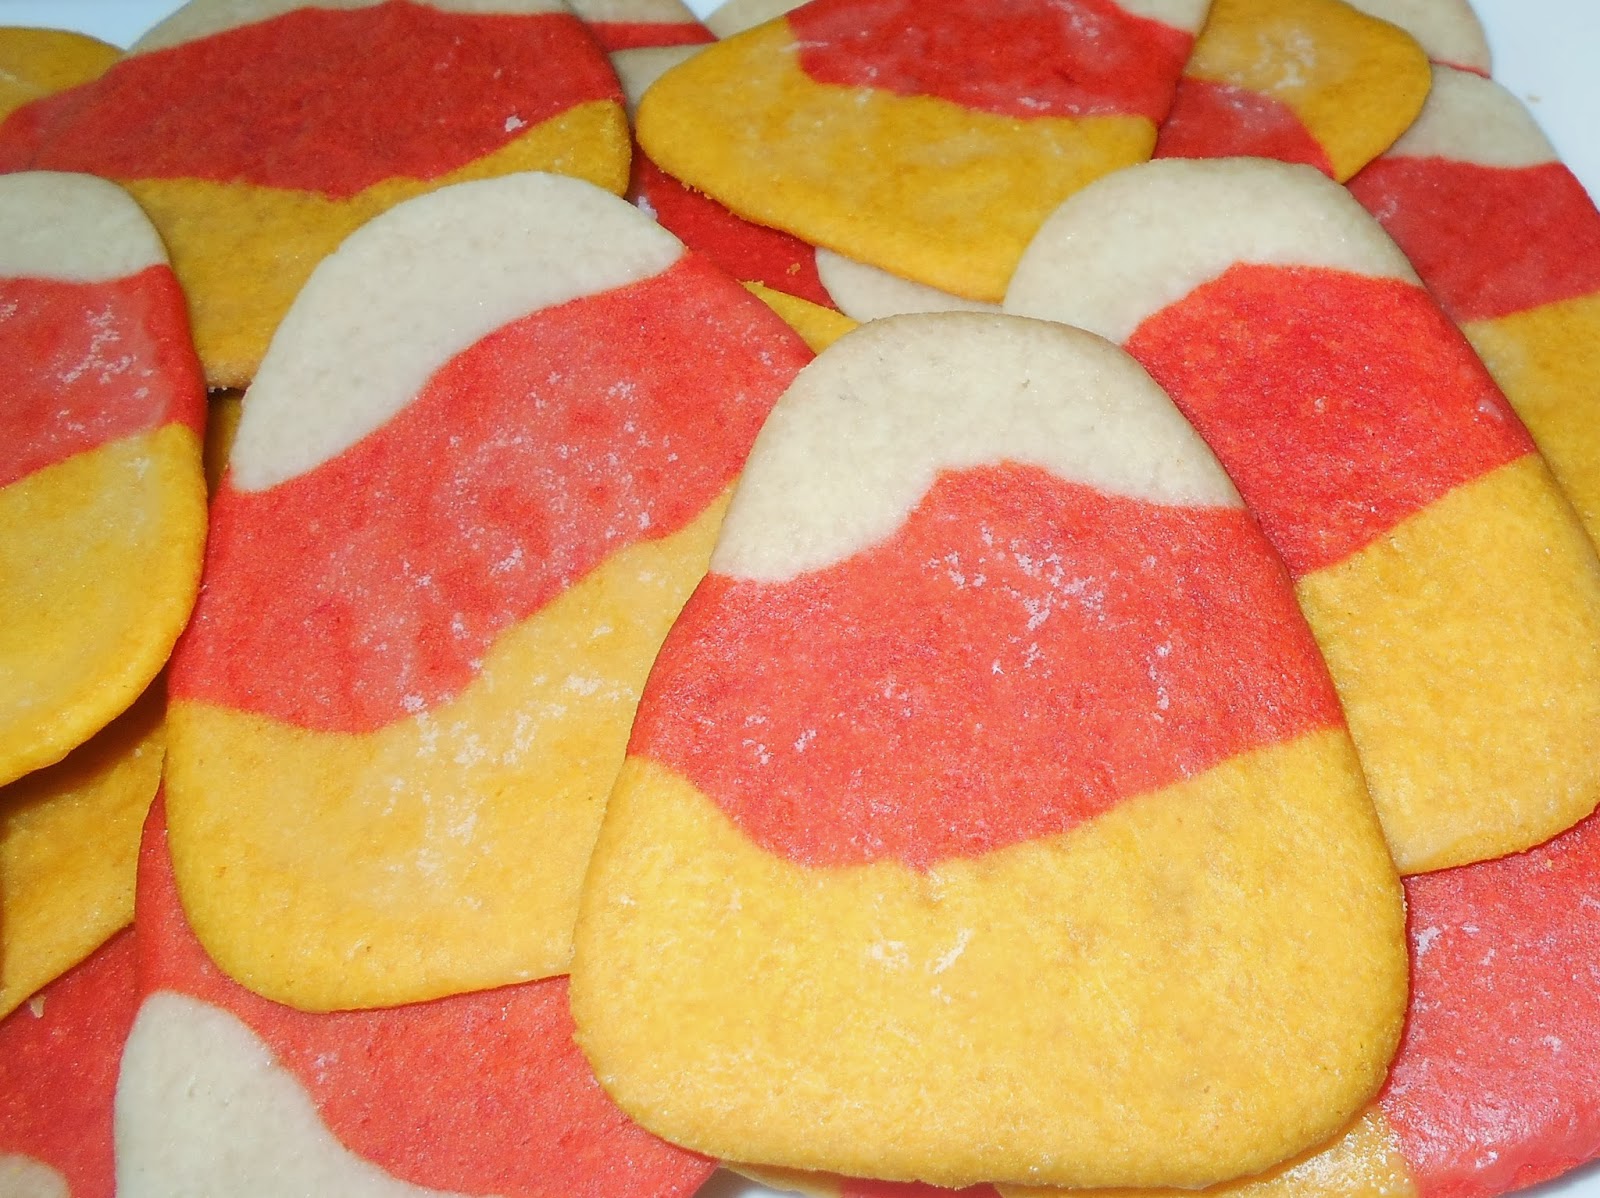
Candy Corn Cookies!! Aren't they so festive? We tried this recipe last year and loved it so much we made it twice and remembered it enough to do it again this year. It is just a simple sugar cookie but it is really tasty, I got it from the TasteofHome website.
Ingredients:- 1-1/2 cups butter, softened
- 1-1/2 cups sugar
- 1/2 teaspoon vanilla extract
- 3 cups all-purpose flour
- 1 teaspoon baking soda
- 1/2 teaspoon salt
- Yellow and orange paste food coloring (I used liquid and it worked fine just took a bit more i suppose)
Now there are two ways to form the shape of these yummy cookies and I have tried both. For the first way which is a bit simpler, split the dough into thirds and color one orange and one yellow leaving the last third white.

I stole the idea of how to shape the cookies from Kathie at her blog Kathie Cooks. Thanks Kathie, such a great idea. You take a bread loaf pan and line it with parchment paper or plastic wrap. (Just a tip, I used plastic wrap and it still had a hard time coming out. Try multiple layers.) Then just layer the dough in starting with orange then yellow then white. Try to make your layers as flat as possible.

Then put your pan in the fridge for two hour up to overnight. I did two hours and it worked great. Take your dough out of the fridge next and out of the pan, and slice it the short way in to 1/4 in slices. While you are slicing preheat your oven to 350.

Next cut your slices into triangle shapes. Squish in the corners so they look more rounded and place on your cookie sheet. (Another tip, I always cook my cookies on parchment paper so the bottoms don't brown as easily)


The second way may take a bit more time but I think it is worth it. You get bigger cookies and they all look like candy corn.


- 1 cup powdered sugar
- 2-3 tbs water
- 1/4 tsp vanilla

Oh they are so cute and so delicious. I want to try a lemon glaze on top next time. And do not let your lame significant other tease you about the fact that some of the colors are upside down on the cookies. (If you shape them the first way.) And if he or she does, no cookies for them!

Sorry about the two different qualities of pictures, the first were taken last year. Thank goodness I have a new camera, not perfect but better!!


0 comments:
Post a Comment